Tag: repair

  • Tascam 414 MKII #30- a difficult one

    Tascam 414 MKII #30- a difficult one

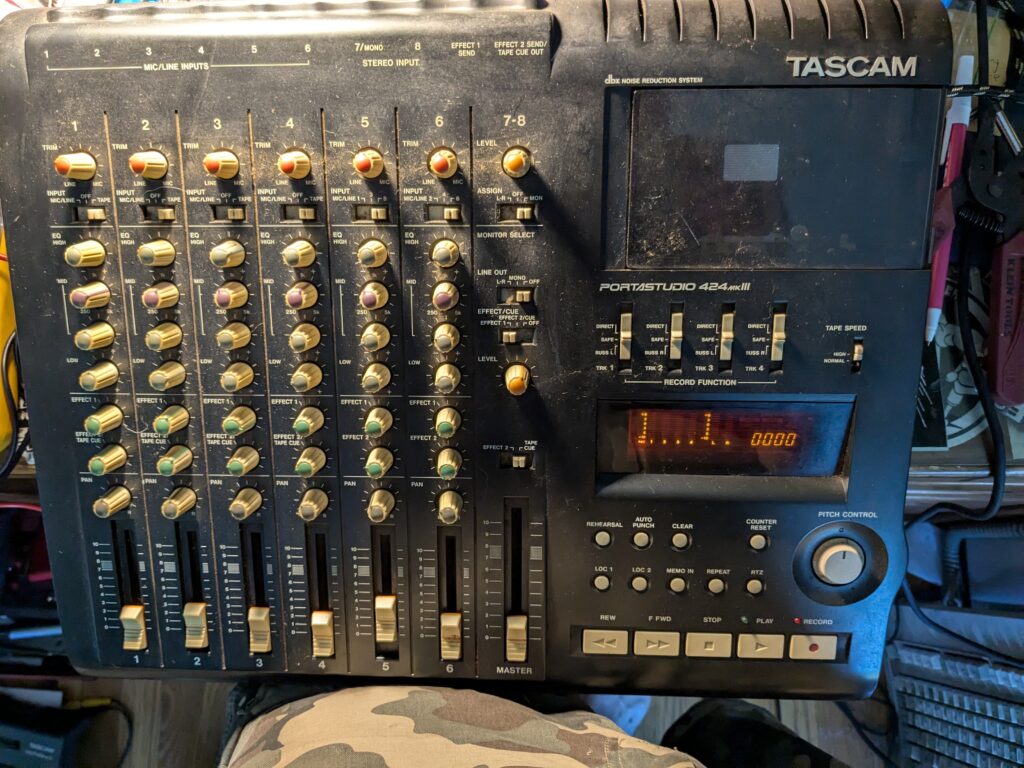
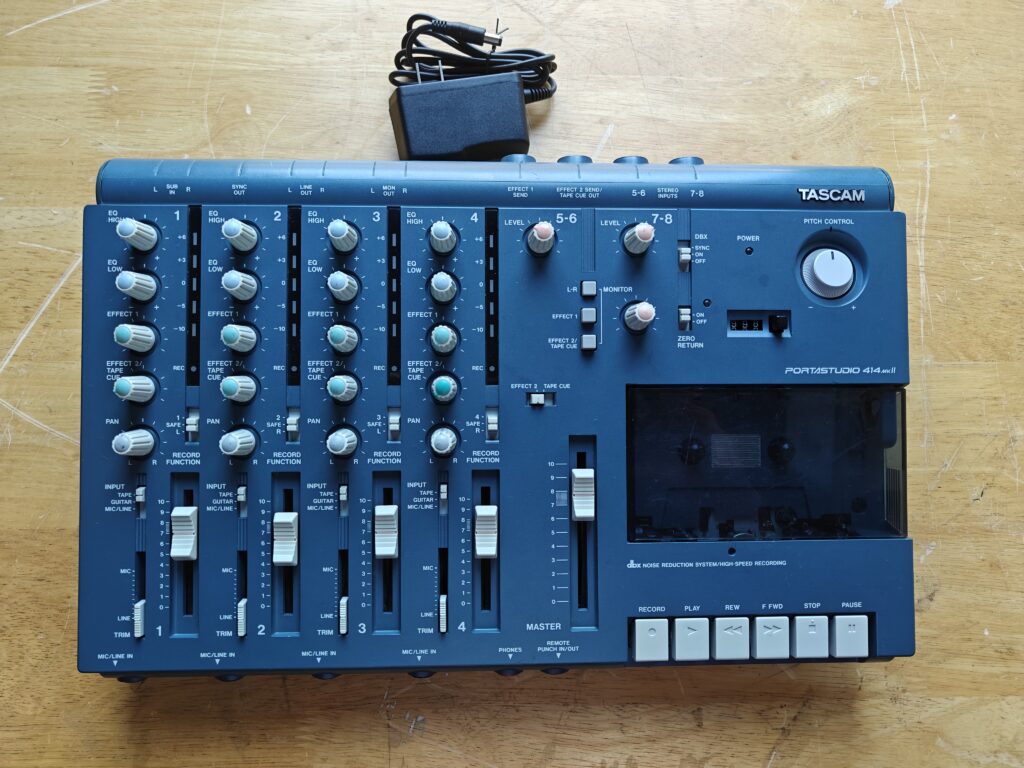
    This 414 was my most involved and possibly most challenging repair to date. In the process, I decided that only the unusual repairs are worth chronicling. There’s not a lot to say about the typical clean and service jobs.

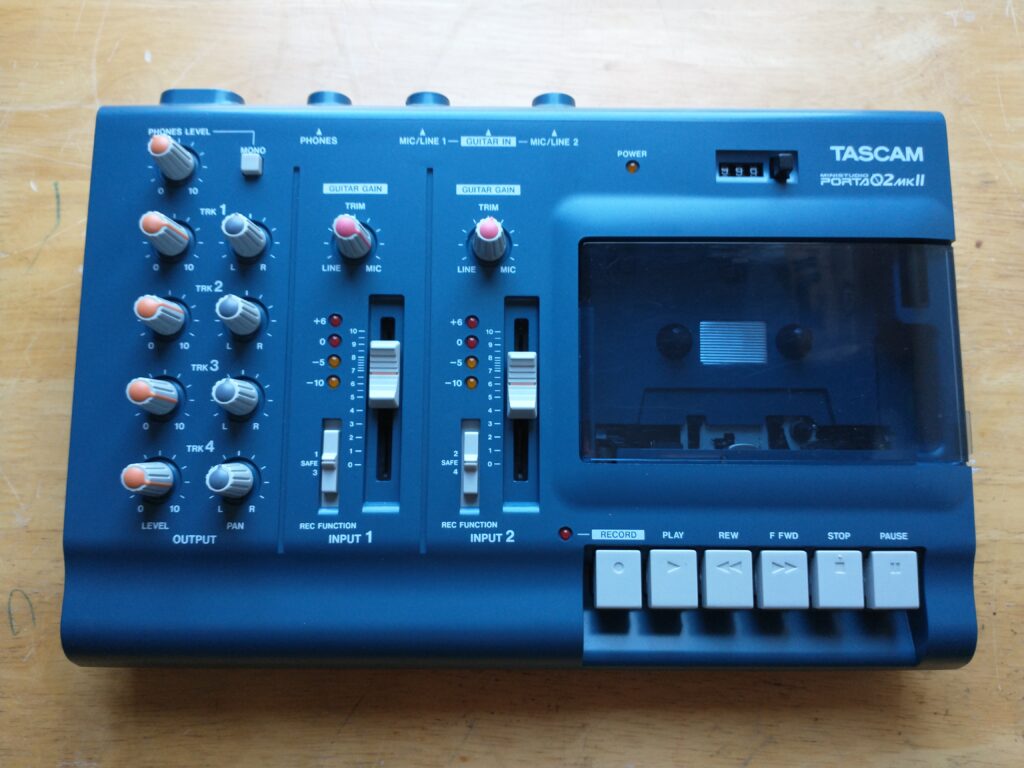
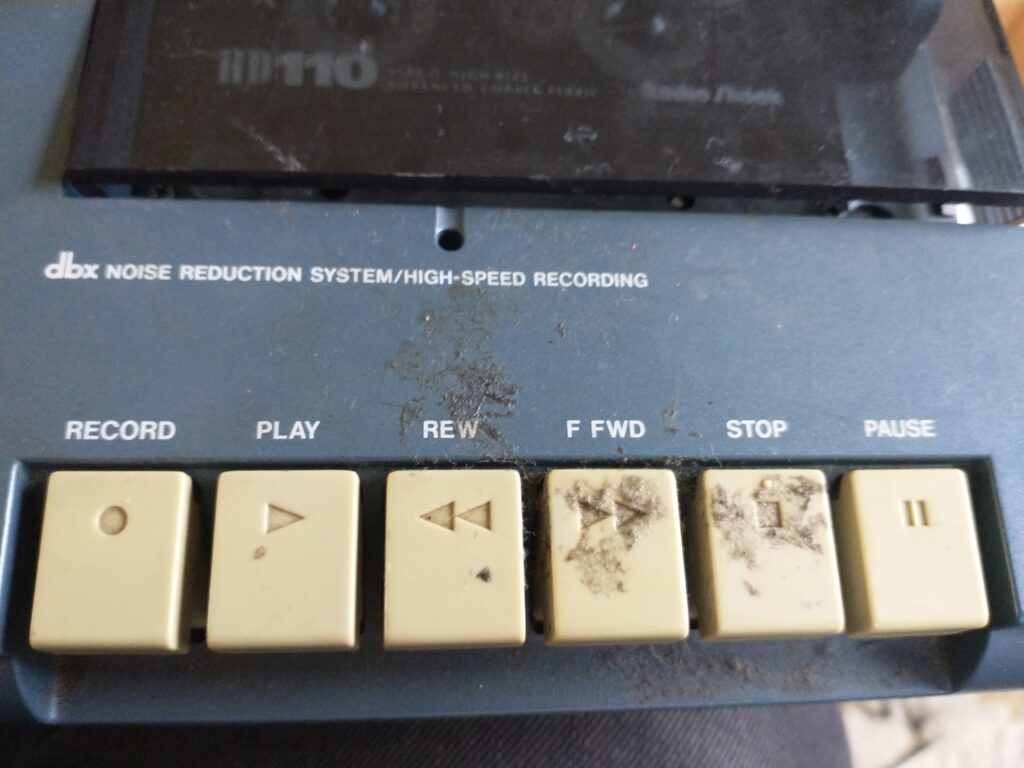
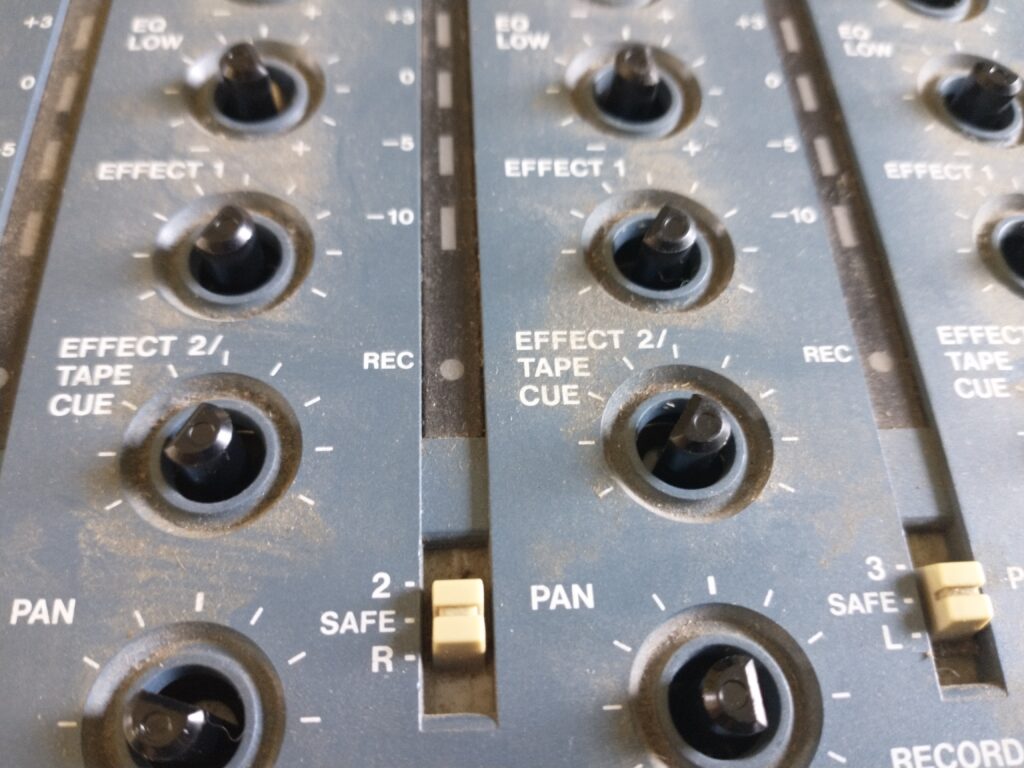
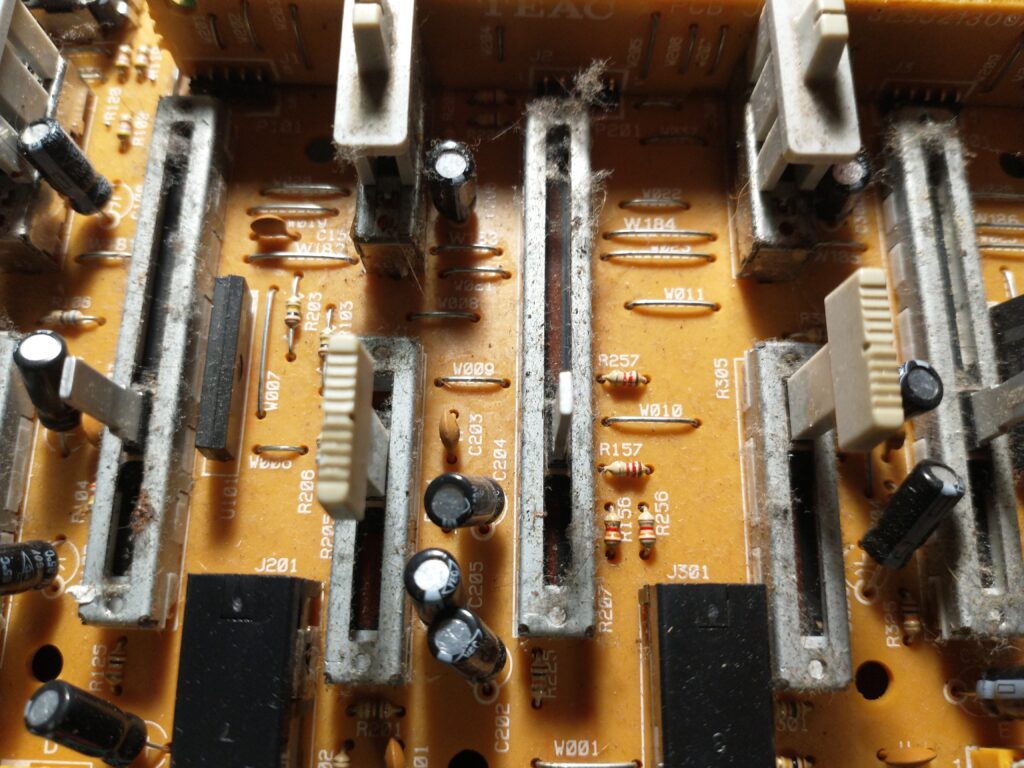
    This machine was incredibly dirty when I received it, and the tape door was hanging off. The faders cut in and out. The Line/Mic 1/4″ in for channel 1 didn’t work, and neither did the Left XLR input. The Line/Mic 1/4″ input for channel 3 cut in and out.

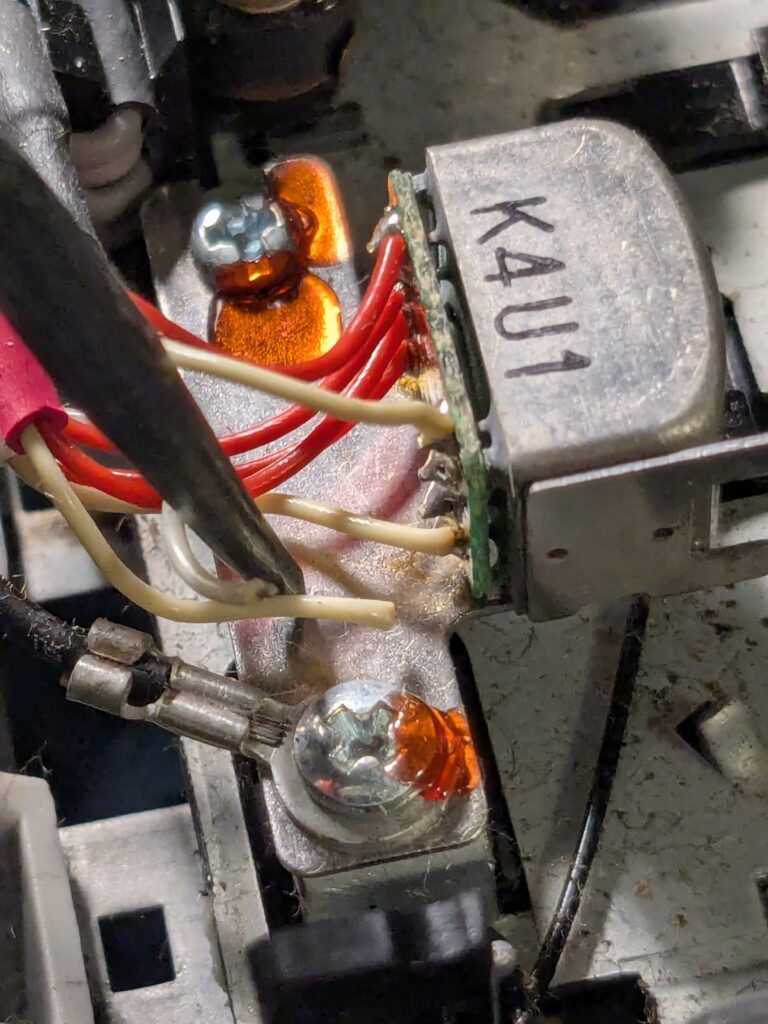
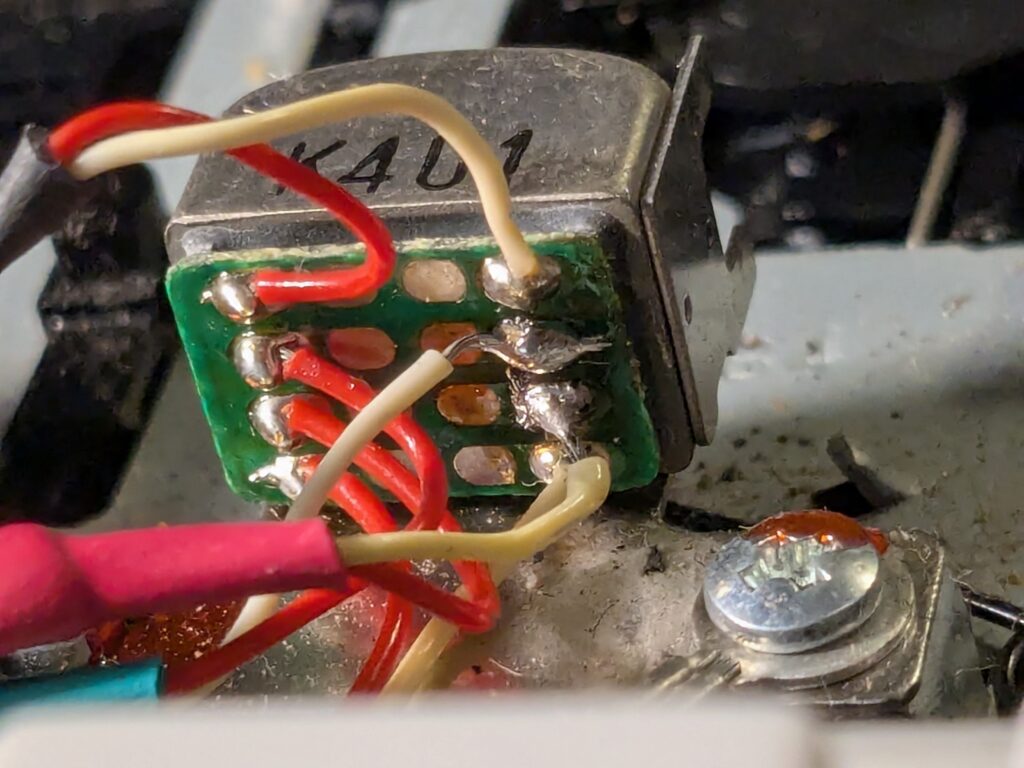
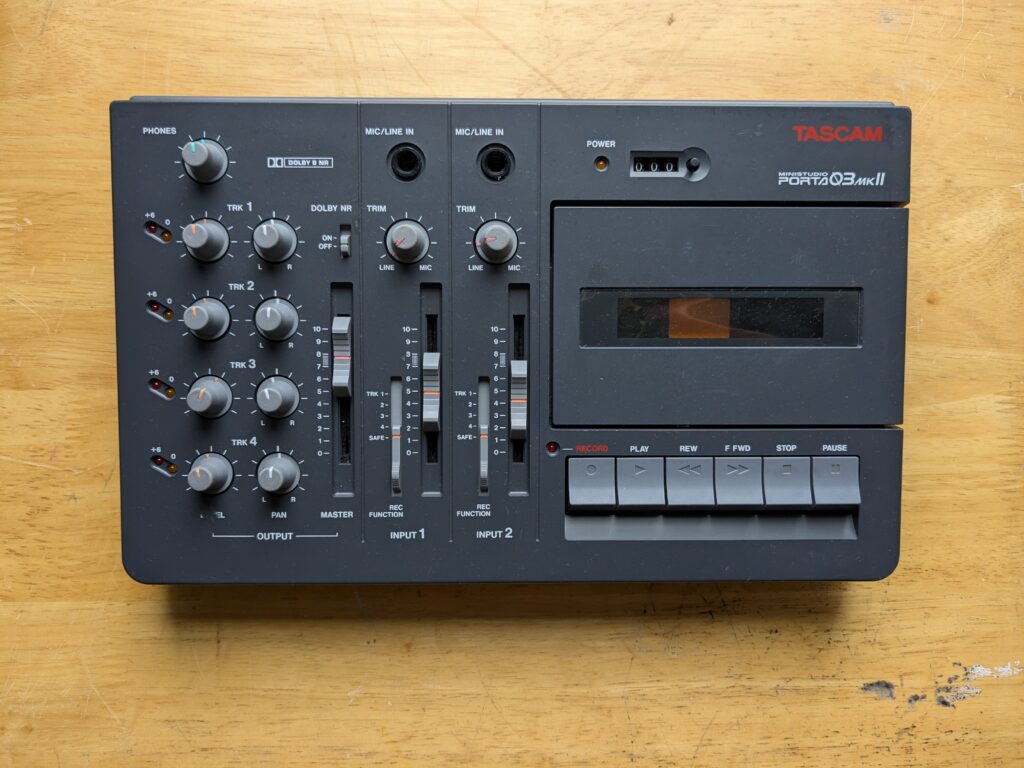
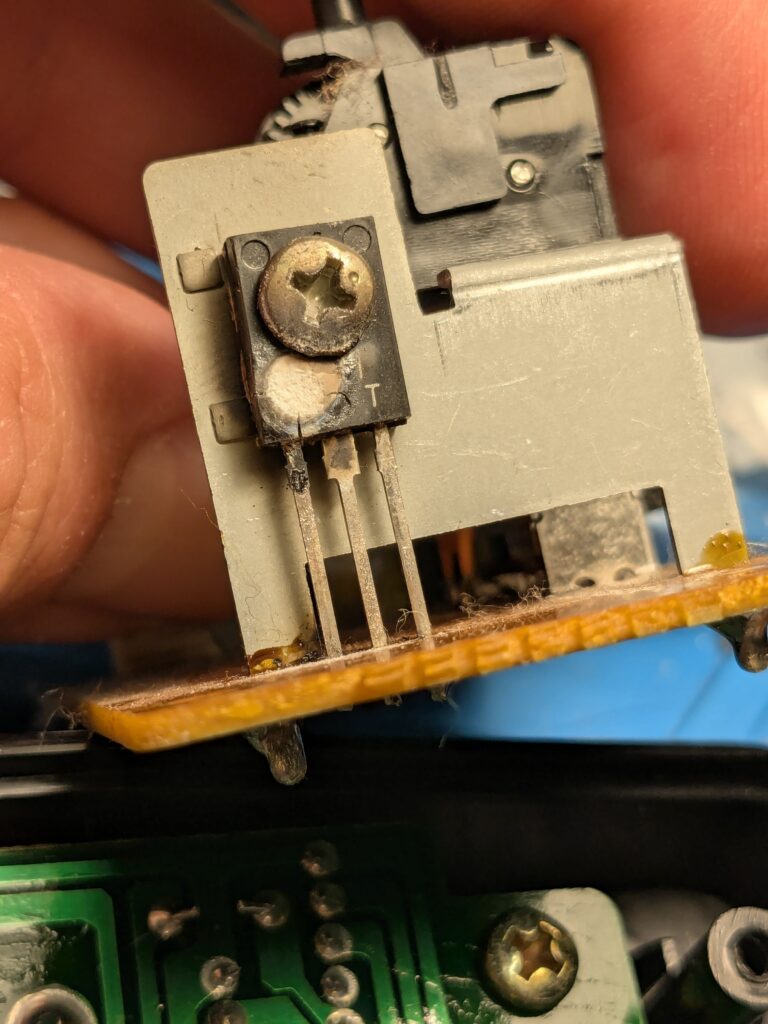
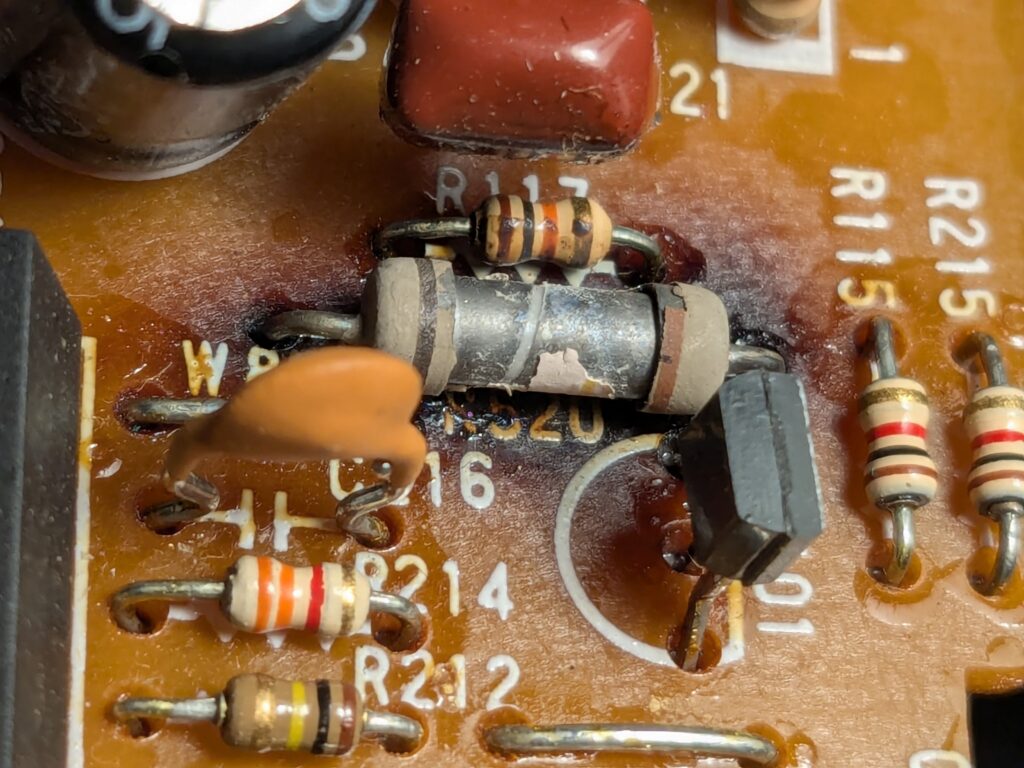
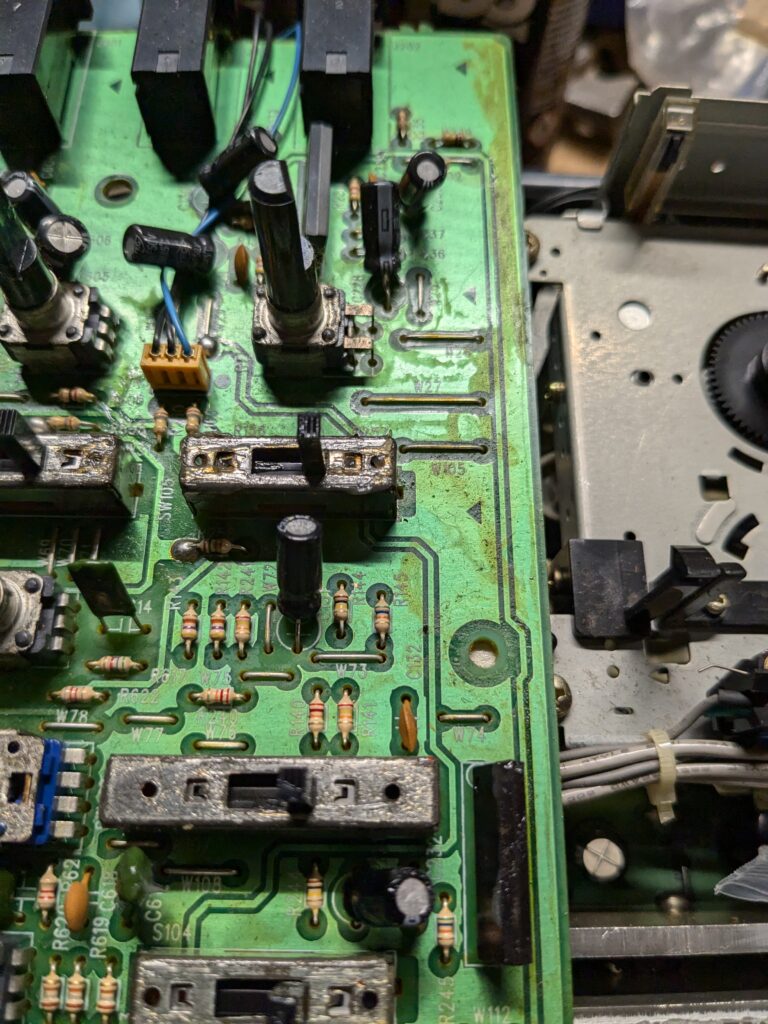
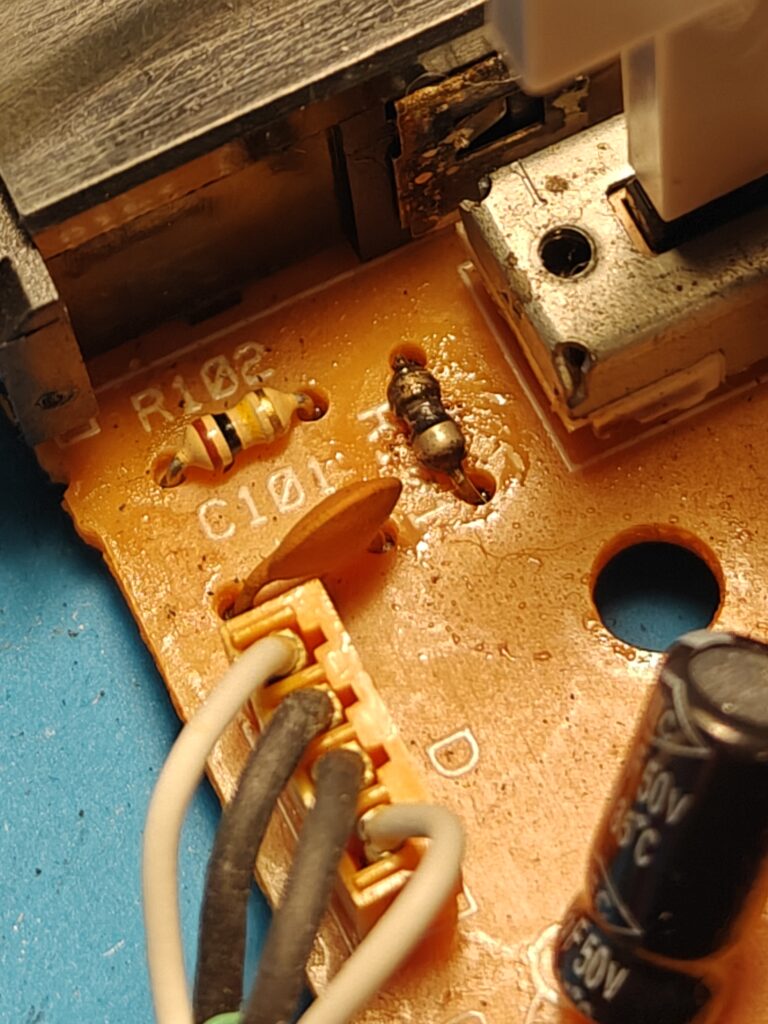
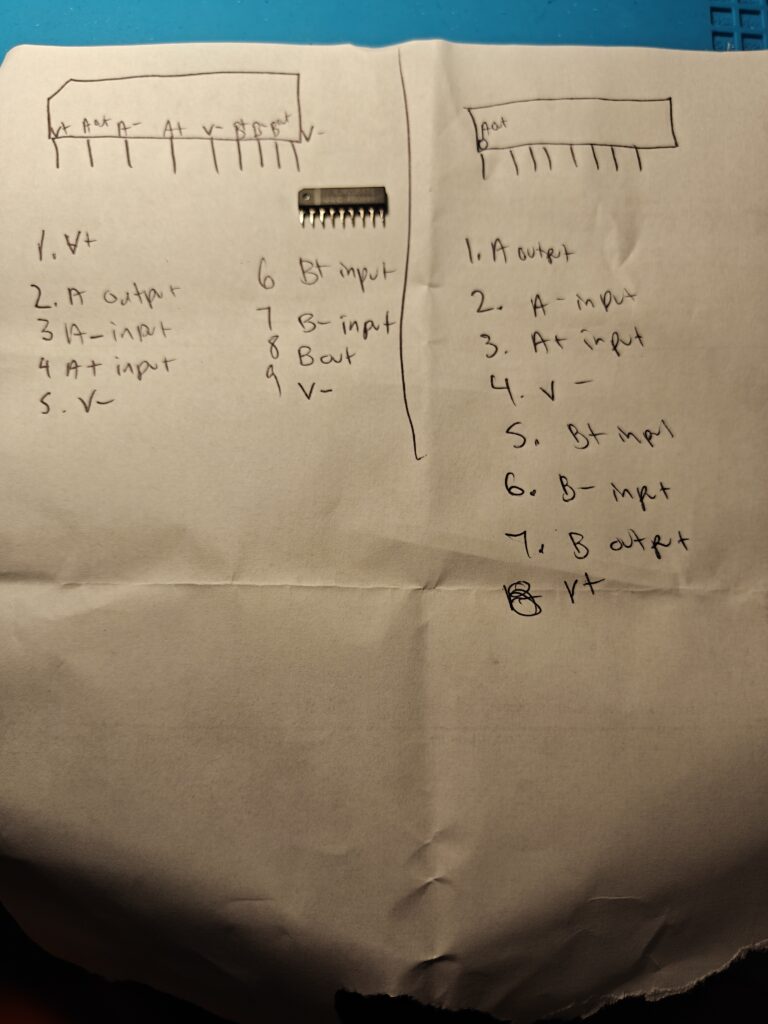
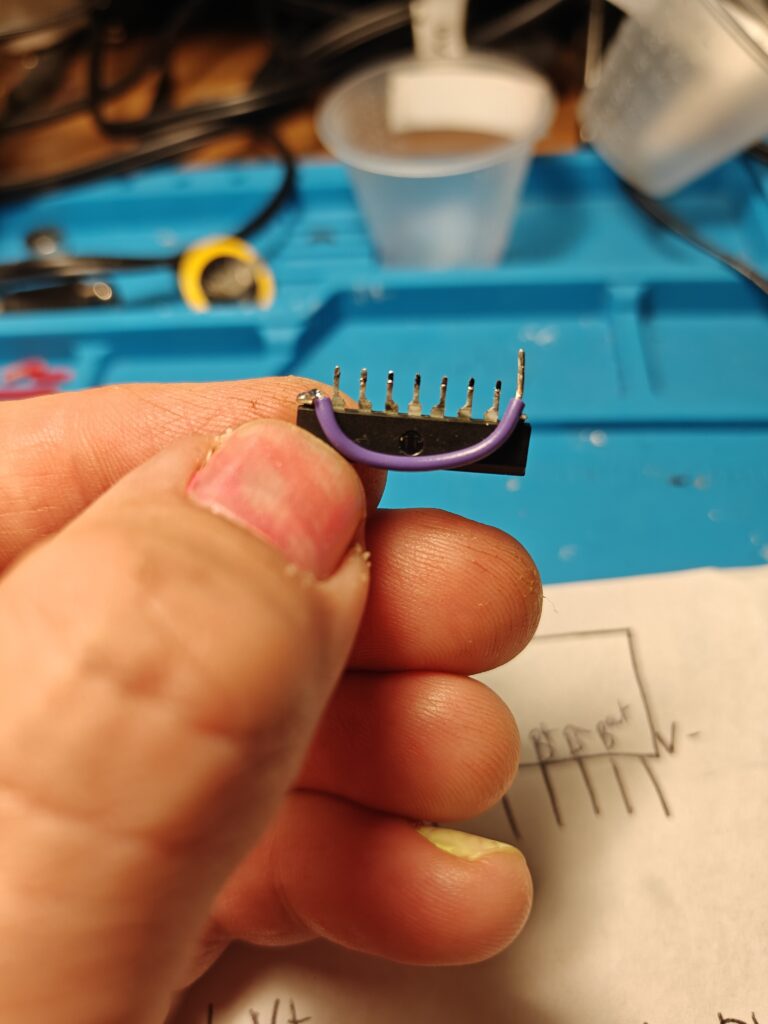
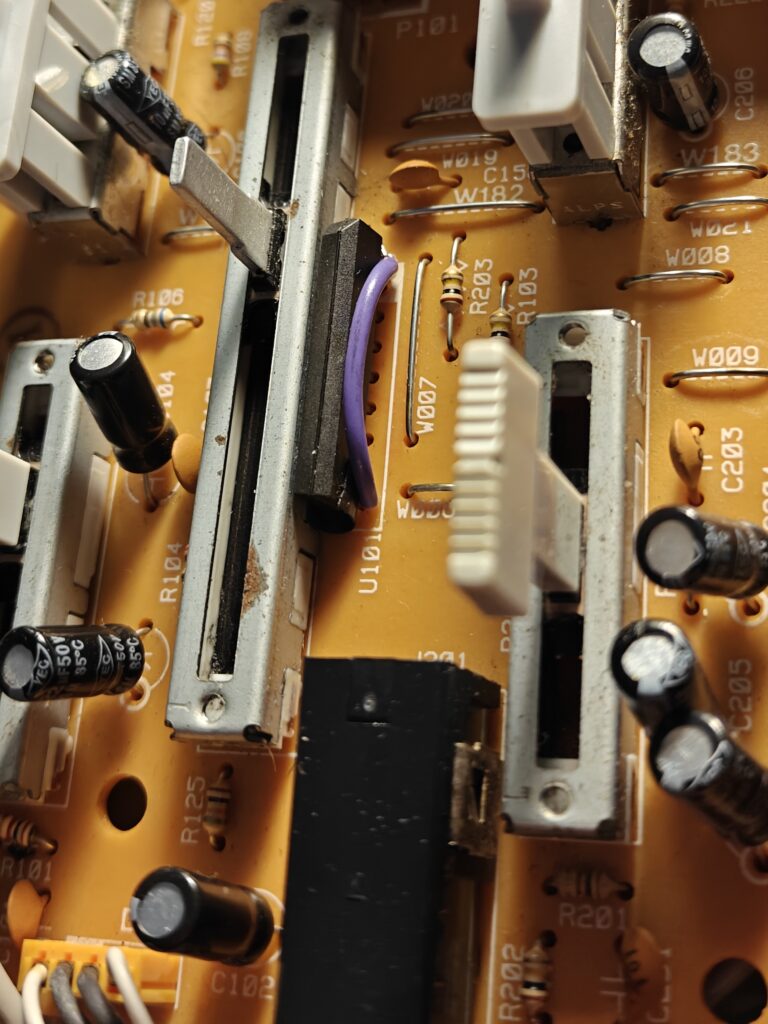
    Luckily, the door wasn’t broken and just needed to be reattached. That was a welcome relief. I found a burnt resistor (R101) on the channel 1 input, and one half of U101 (NJM2068LD) was blown based on voltage readings. I started looking around for a replacement or pull for U101, and pulled the resistor for R101 from a Porta 03 parts machine. I came across an NJM2068 in a SIP9 package and set out to find the datasheet for the pinout to see if I could make it work. I relied on the internet sleuthing of a friend to find it, and I was able to make it work. The SIP9 came from a Fostex X-26 parts machine that I have.

    oplus_2097184

    The fix for the channel 3 input was something entirely different, and a bit easier. The Jalco jack was cracked so the 1/4″ plug didn’t always make a solid connection. I swapped it out with a pull from the same X-26 that I got the NJM2068 from.

    Like the channel 1 1/4″ input, the BALMIC board also had a blown op amp, U102. I can’t imagine what kind of signal sources the previous owner attempted to input into this poor machine. U102 on the BALMIC board is an NJM4565LD. I was able to pull a working one from a Porta 02 parts machine that someone had really mangled in an attempt at repairing before I received it, but that’s a different story. After replacing U102 on the BALMIC board, the Left XLR input worked again.

    Wow and flutter was really low on this machine once I was done with it at .05% RMS. It was fully cleaned, calibrated, and tested as per my usual procedure. This machine sold on Reverb in 2 hours.

  • Porta 02 MKii

    Porta 02 MKii

    This Porta 02 MKii repair was really fun and something different than I’m used to. The seller said that tracks 2 and 3 didn’t work. I found in my testing that track 2 was very faint and track 3 was non-existent.

    When I opened up the unit and started checking it out, what I found was that the wires for tracks 2 and 3 on the playback side of the play/record head had broken off their solder pads. I was able to strip them back a bit more and resolder them to their respective pads. It wasn’t my best work, but it works. The solder pads are just a surface pad, and the wires are incredibly thin. There wasn’t much room to work in there, either.

    This machine was very clean and in good cosmetic condition when I got it, and even better after I cleaned it up. I did the usual things like clean all the jacks, change the belts, clean and demagnetize the heads, and so on. It sold on Reverb here.

  • Tascam Porta 03 Mkii

    Tascam Porta 03 Mkii

    When I received this machine, it had a blown power transistor. It powered on but the power LED pulsed, and the track LEDs didn’t work. The transport worked somehow though. I replaced the 2SB891 power transistor with a good one from a parts machine.

    In addition to the blown power transistor, there was a slight tick in the transport. I removed the capstan flywheel and cleaned some specks of dirt out of the gears. The capstan flywheel in these machines, as well as the Porta 02 and Porta 02 MKii, and the 414 MKii, which all share the same transport, is held in with a tiny plastic split ring, as seen below. Sometime a while back, while working on a Porta 02 with a similar dirty gear, I broke that plastic split ring. I was able to replace it with a 1.5mm e clip, but it was not easy. It was one thing to source an e clip of that size, and another to install it on the capstan. I’ve added photos of that below as well, since I didn’t manage to make a post about that repair at the time.

    The machine was in good cosmetic condition and wasn’t particularly dirty or anything. It cleaned up nicely too. It sold on Reverb here.

  • Tascam Porta 03

    Tascam Porta 03

    I’ve worked on about a half a dozen Porta 03/ Porta 03 Mkiis this summer. I really like them for some reason. I’m trying to catch up on posts here before I forget which is which.

    I can’t really tell what differences there are between the Porta 03 and the Porta 03 MKii. Perhaps it’s some minor board revision I haven’t noticed, and the case and knob colors are a bit different. I’ve also noticed some internal differences in the case plastics of MKis that made it not possible to swap boards between them. Anyway, on to this repair.

    This Porta 03 came to me with no DC jack. It was straight up missing from the power board. I’m going to try to keep this straight but it’s a little foggy because of how many of these machines I’ve had recently, and the fact that at some point, I did some parts swapping that resulted in one non-working machine that I have harvested parts from. Some of the knobs were melted too. I had another machine that arrived with a broken counter button, and somewhere along the way, I received an 03 with no case screws, and one that every single knob shaft was cracked, which was a real disappointment.

    So I pulled the whole power board from one of those other derelict machines, repaired the soldering on the DC jack, added a jumper to make sure the ground connection was good, and went on cleaning and servicing as usual. Somewhere along the way between one of these machines, a resistor blew up. The heat damaged the board enough that I didn’t bother trying to figure out what other components were affected. That one went in the heap in case I need to harvest parts from it.

    After much swapping of parts, this ended up as a decently clean and well working machine. It sold on Reverb here.

  • Tascam 424 MKIII Black

    Tascam 424 MKIII Black

    A little over a year ago, a friend from the PedalPCB forum sent me a message saying he had been interested in getting a 424 Mkiii but had never seriously pursued it. He went on to ask if I would be willing to acquire one in decent condition on his behalf, and then go through it and service everything. I agreed, and we began looking at listings. He was particularly interested in this Japanese market mkiii in black. The ebay listing’s condition was “junk,” but it appeared to be in decent cosmetic condition.

    When it arrived, it was pretty dirty as these things tend to be. It’s always a little different seeing one of these in person as opposed to photos in an online listing. The knobs and fader caps were typically yellowed as well. Despite the funk level, the machine seemed to be working ok. It also came with a cassette loaded in it, which is always fun. This cassette was also a Japanese market Maxell My2 type ii cassette with a pink shell. I hadn’t seen these before but I like it. It had a song recorded on it, which I ripped and saved before bulk erasing the tape.

    Upon disassembly, I discovered that it seems that liquid had been spilled on and in the unit at some point. I gave everything a thorough cleaning- not just the faders, pots, jacks, and switches, but I also scrubbed all of PCBs to remove any residue. I ran into some gremlins at this step of the process and spent a lot of time reassembling and disassembling various things. I ended up testing all of the JST connectors to make sure there were no broken connections. I took long breaks from working on this at several points too.

    Here are some more examples of the level of funk this thing had and the results of the cleaning process. I always put knobs, buttons, fader caps etc into an ultrasonic cleaner. I had attempted a simple method of trying to brighten the knobs etc with a bit of success. I have since moved on to another method that works better but I might make a full post about that later.

    Aside from cleaning and calibration, this machine also needed a few minor repairs. The first repair was to remove the bottom PCB and resolder the DIN jack for the power supply. The second was to replace the tactile switch for the play button on the transport. I had noticed that it sometimes required two clicks to activate so that got swapped out as well.

    I changed the belts on this machine too. The original capstan belt was in decent shape, and the machine had very low wow and flutter, but for peace of mind and longevity, I changed out the belt. Strangely enough, the new belt caused higher wow and flutter than the old belt, but still within the acceptable range noted in the service manual. The machine was also calibrated for tape speed in both high and low speed, the pitch control speeds were checked. Playback level and record level were adjusted back to the service manual specs, and the meters were calibrated.

    This machine came out really nice in the end. It’s clean and working as it would have when it was new.

  • zoom MRT-3B drum machine

    zoom MRT-3B drum machine

    One day while looking for various audio devices, I came across a listing for a Zoom MRT-3B drum machine and it piqued my interest. Demos of it on YouTube are few and far between, and the device dates from the early 2000s. There are a couple videos on YouTube, and I thought the sounds were decent. I sold my Digitech Sdrum and bought an MRT-3b. I really liked it from the start, but mine had a few issues. First off, it was losing all my patterns every time I powered it on, so I looked for the internal battery. Disassembly wasn’t too bad but I had to wait for the battery replacement I had to order.

    Once I had the battery issue resolved, I noticed the tempo button sometimes needed an extra click to work, but that’s also the tap tempo input, so it was doing wacky things. So once again I disassembled the unit and replaced all the tactile switches. Now it’s running great.

    So far this has been a great simple drum machine to use with 4 tracks. I quite like Zoom stuff for inexpensive but decent quality devices. My first recording device was an H4n, which I used to record several bands. I moved from that to a Zoom R16, which I still have but don’t use much. I recently acquired a Zoom H2, since I missed the H4n I used to have. I’ve also got a Zoom g1four, which is decent for sitting on the couch with headphones. I look forward to getting a lot of use out of the MRT-3b going forward.

  • pedal repair- klirrton oh my goat

    pedal repair- klirrton oh my goat

    This pedal belongs to my friend Ivan from the band Morgue Breath. He had mentioned sending it to me to get repaired, and when I saw Morgue Breath on tour last week, he had the pedal with him.

    The shaft on the treble pot was busted off and it was just rotating there in free space.

    I hadn’t seen that happen before but no big deal. I had a replacement on hand and had it installed in just a few minutes. The disassembly was pretty straightforward although the quick connect on the DC jack was fiddly. It wasn’t easier than just unsoldering it, which is what I usually do.

    i played with it briefly with a cab sim and headphones, but I hadn’t heard of this pedal before it landed on my workbench. I was pleasantly surprised by how much gain it has, and it stayed pretty tight all things considered.

  • Tascam 424 MKIII

    Tascam 424 MKIII

    I recently finished this fairly uneventful 424 MKIII refurb. I had acquired it about a year ago, and it had been sitting in a box. It turned out that the basic functions worked fine. It just needed some cleanup, calibration and had some cracked solder joints.

    Cracked solder joints on the Line Out RCA connections of the bottom board.

    During testing, I discovered that the Line Out and Monitor Out RCA jacks seemed a little wobbly when plugging cables into them. Sure enough, output from those sets of jacks was intermittent. Getting to those solder connections requires removing the bottom PCB, which also requires removing the transport. I resoldered the jacks and they’re solid once again.

    Closeup shot of some controls showing cleanliness

    One of my favorite parts of working with these machines is the cosmetic cleaning. Some of the machines I get are downright filthy, and some aren’t so bad, but we’re talking about machines that are 25-30 years old or so at this point, and many of them have been used hard. I find it really satisfying to clean the front shell, along with all the knobs, fader caps, and switch caps. Then once the machine is reassembled, there’s no dust or crud peeking out from the recesses of the switches, fader slots, and all the other places grime builds up on these things.

    Aside from the cosmetic cleaning, I cleaned all of the switches and faders with Deoxit F5, and all of the jacks with Deoxit D5. I cleaned the tape heads with isopropyl alcohol, and treated the pinch roller with MG Chemicals Rubber Renue.

    To finish up this machine, I calibrated its tape speed in both hi and low speed, pitch control in hi and low speed, meter calibration, playback levels, and record levels, as well as measured its wow and flutter. Wow and flutter was measured at 0.0355% in hi speed, with a spec of 0.08%+- and 0.0453% in low speed with a spec of 0.10%+-. Because wow and flutter were so low and the main belt looked good from a visual inspection, I didn’t change it.

    This machine is up for sale on Reverb here.