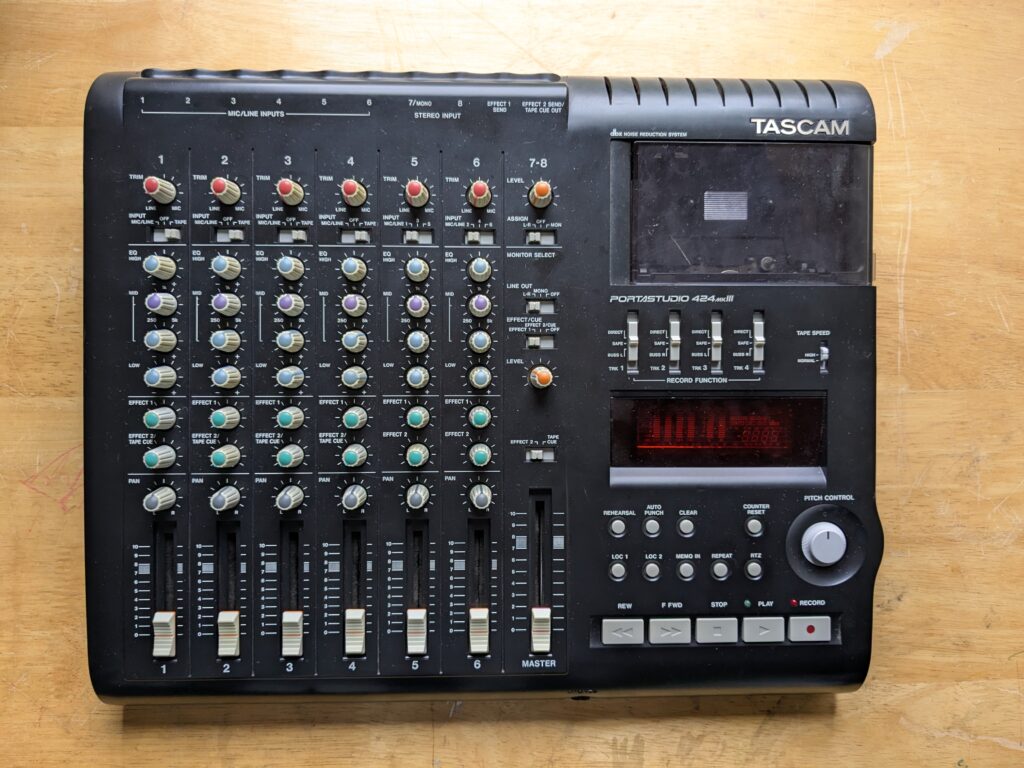
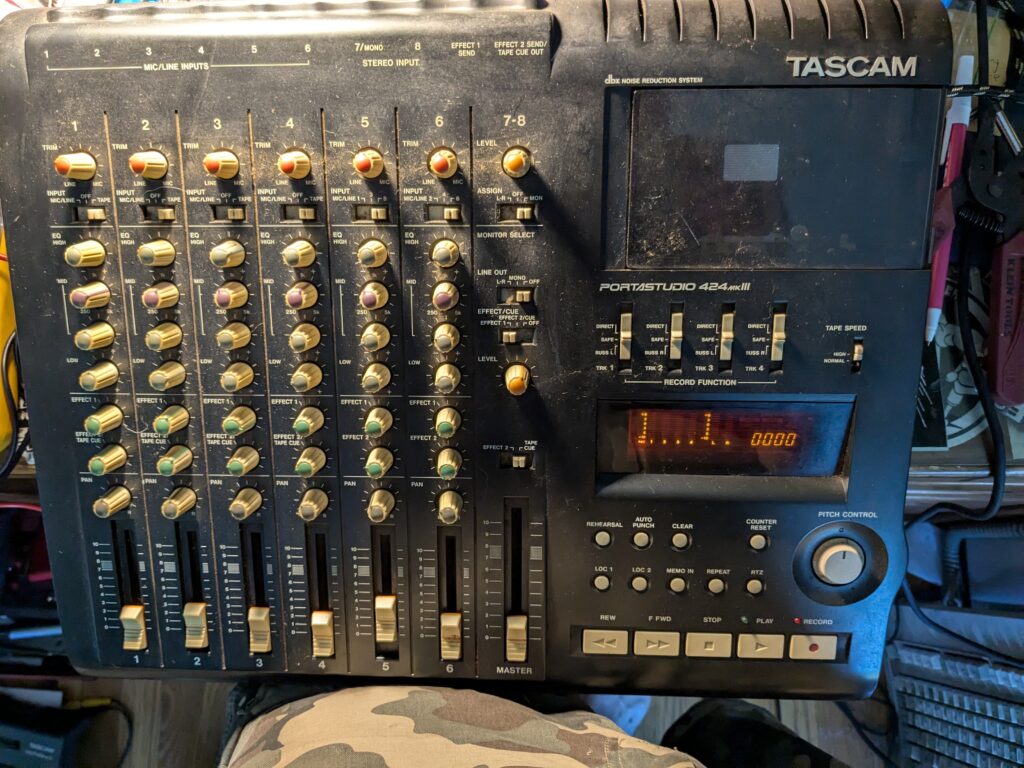
A little over a year ago, a friend from the PedalPCB forum sent me a message saying he had been interested in getting a 424 Mkiii but had never seriously pursued it. He went on to ask if I would be willing to acquire one in decent condition on his behalf, and then go through it and service everything. I agreed, and we began looking at listings. He was particularly interested in this Japanese market mkiii in black. The ebay listing’s condition was “junk,” but it appeared to be in decent cosmetic condition.
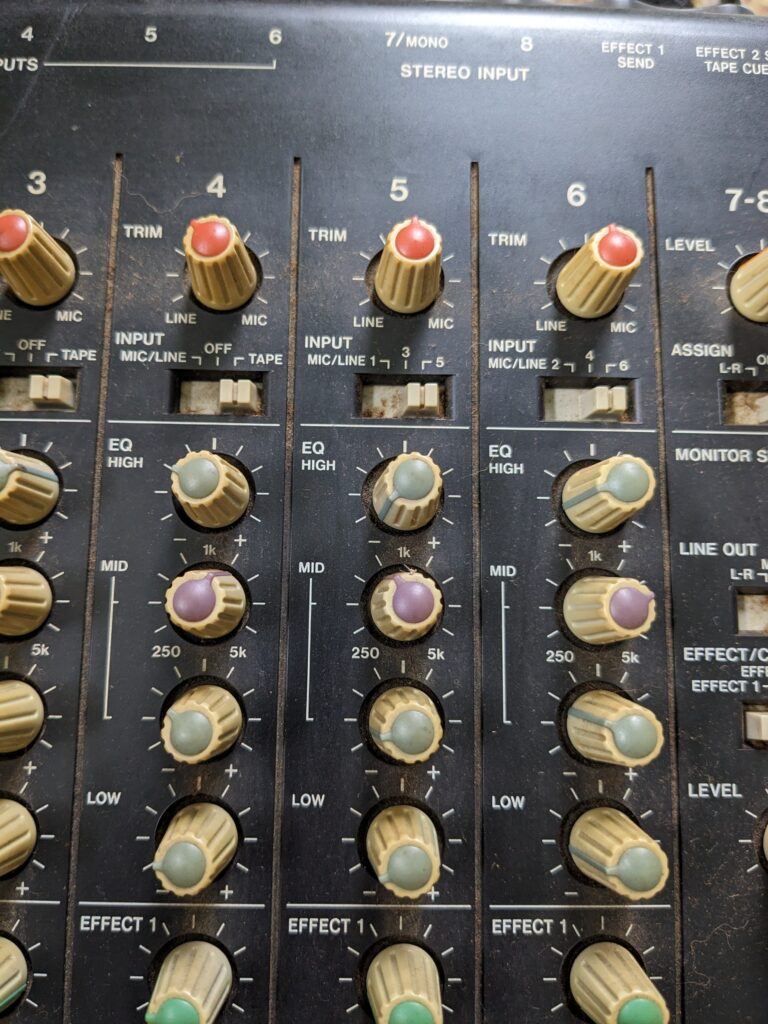
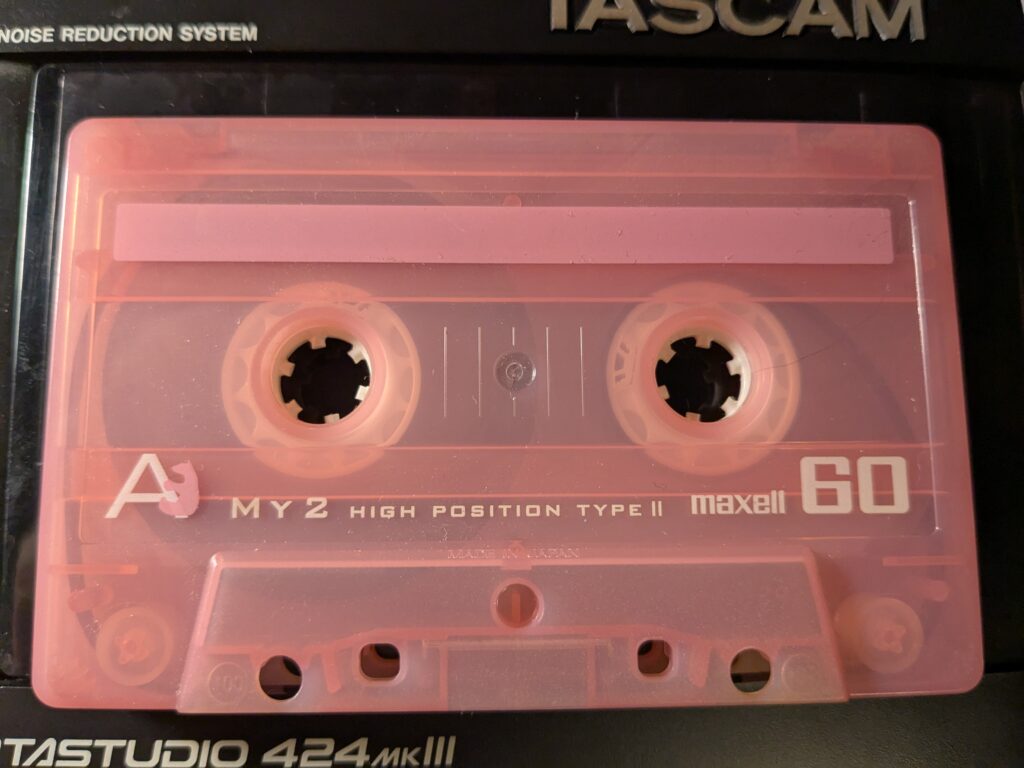
When it arrived, it was pretty dirty as these things tend to be. It’s always a little different seeing one of these in person as opposed to photos in an online listing. The knobs and fader caps were typically yellowed as well. Despite the funk level, the machine seemed to be working ok. It also came with a cassette loaded in it, which is always fun. This cassette was also a Japanese market Maxell My2 type ii cassette with a pink shell. I hadn’t seen these before but I like it. It had a song recorded on it, which I ripped and saved before bulk erasing the tape.
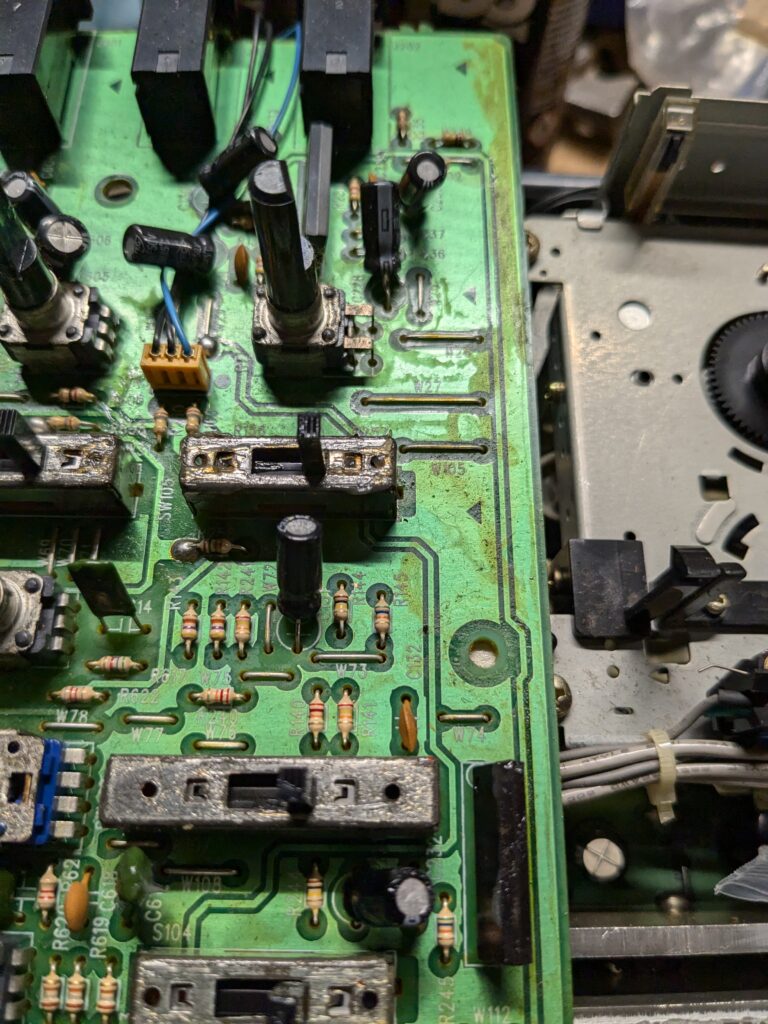
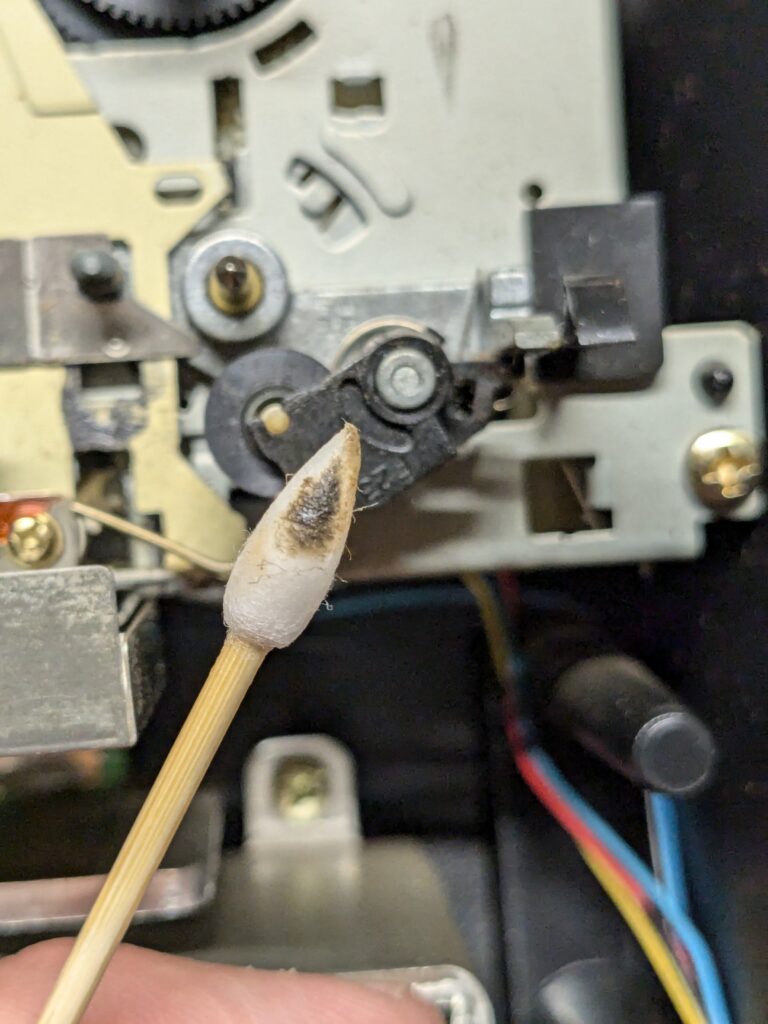
Upon disassembly, I discovered that it seems that liquid had been spilled on and in the unit at some point. I gave everything a thorough cleaning- not just the faders, pots, jacks, and switches, but I also scrubbed all of PCBs to remove any residue. I ran into some gremlins at this step of the process and spent a lot of time reassembling and disassembling various things. I ended up testing all of the JST connectors to make sure there were no broken connections. I took long breaks from working on this at several points too.
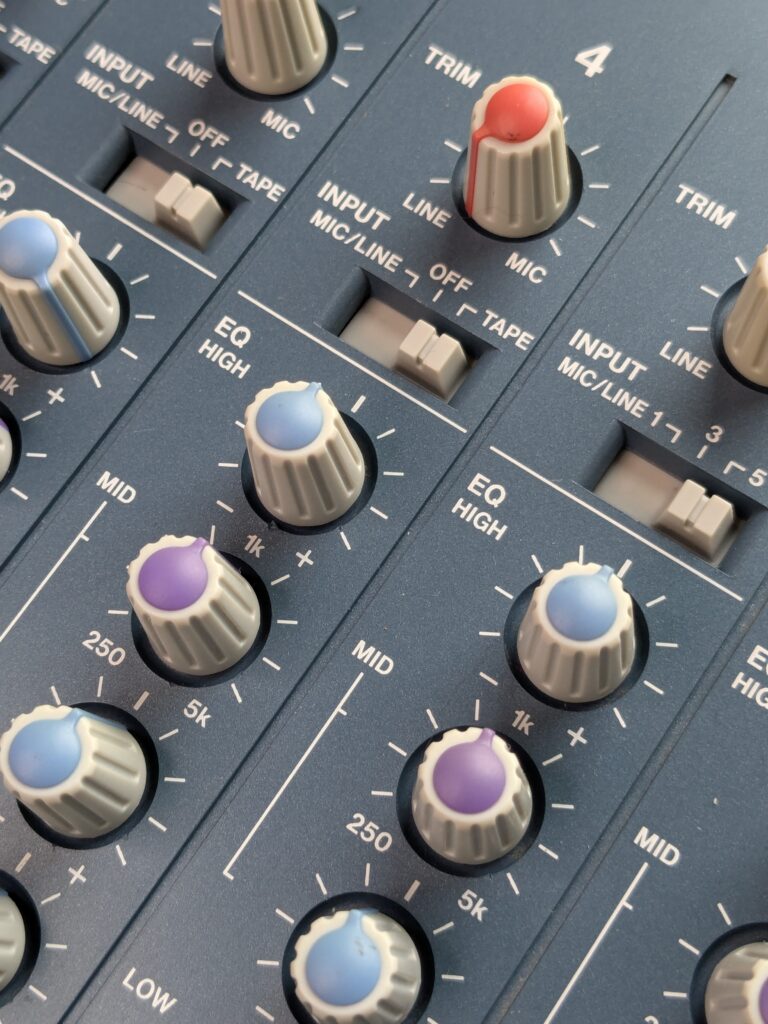
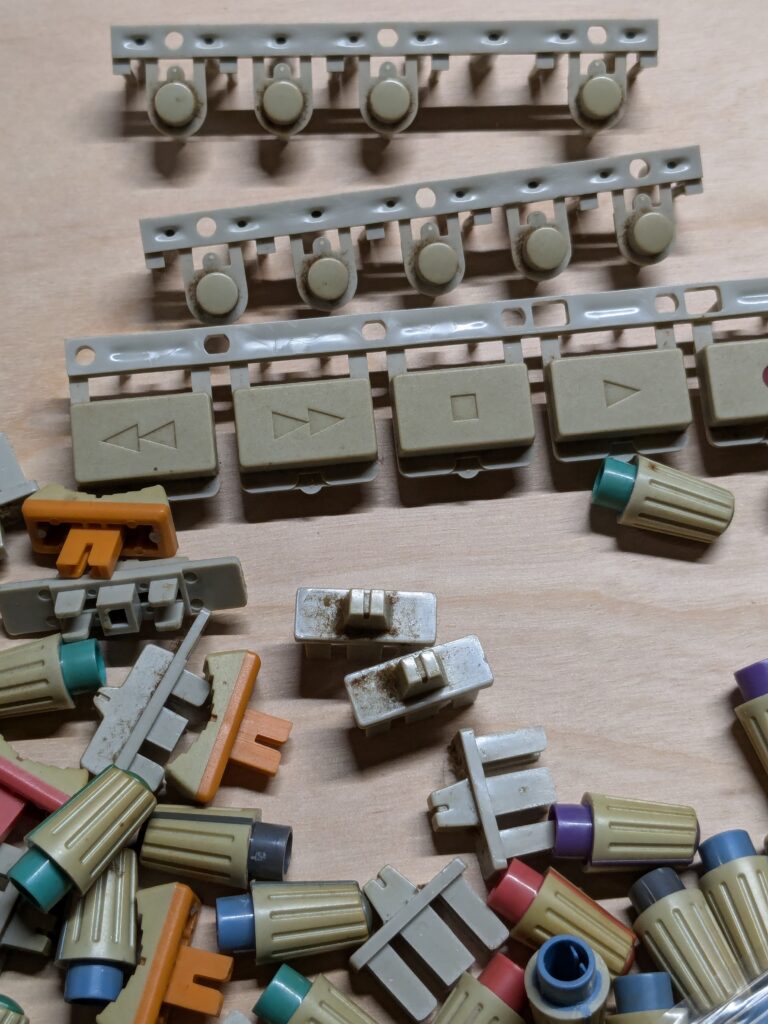
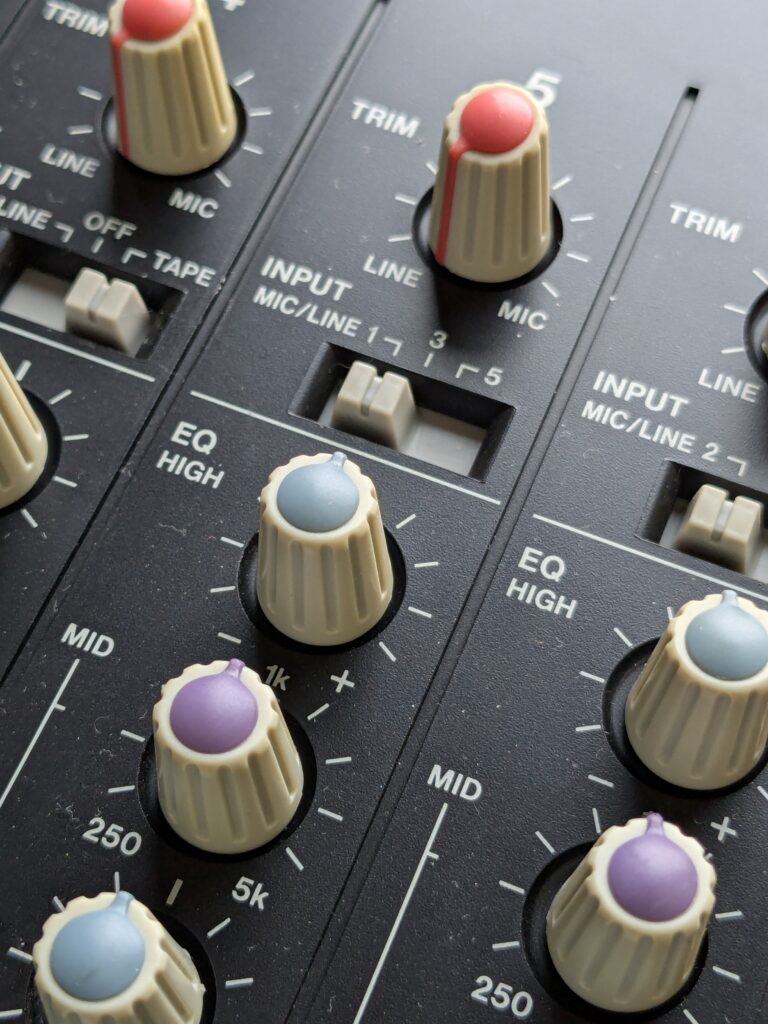
Here are some more examples of the level of funk this thing had and the results of the cleaning process. I always put knobs, buttons, fader caps etc into an ultrasonic cleaner. I had attempted a simple method of trying to brighten the knobs etc with a bit of success. I have since moved on to another method that works better but I might make a full post about that later.
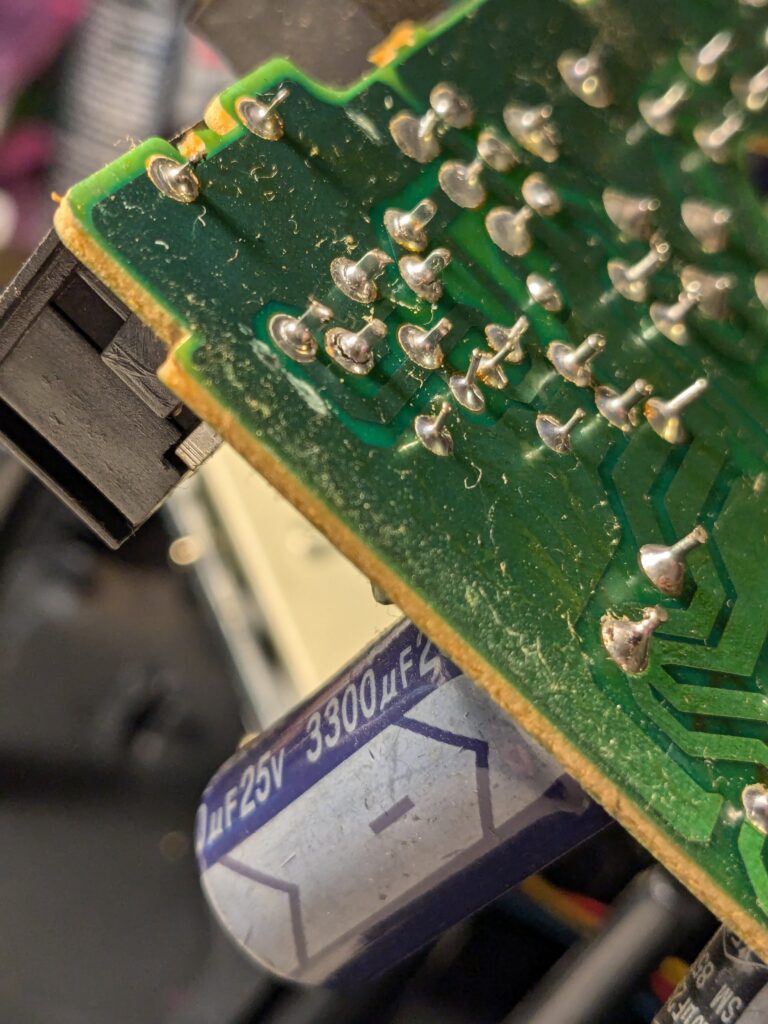
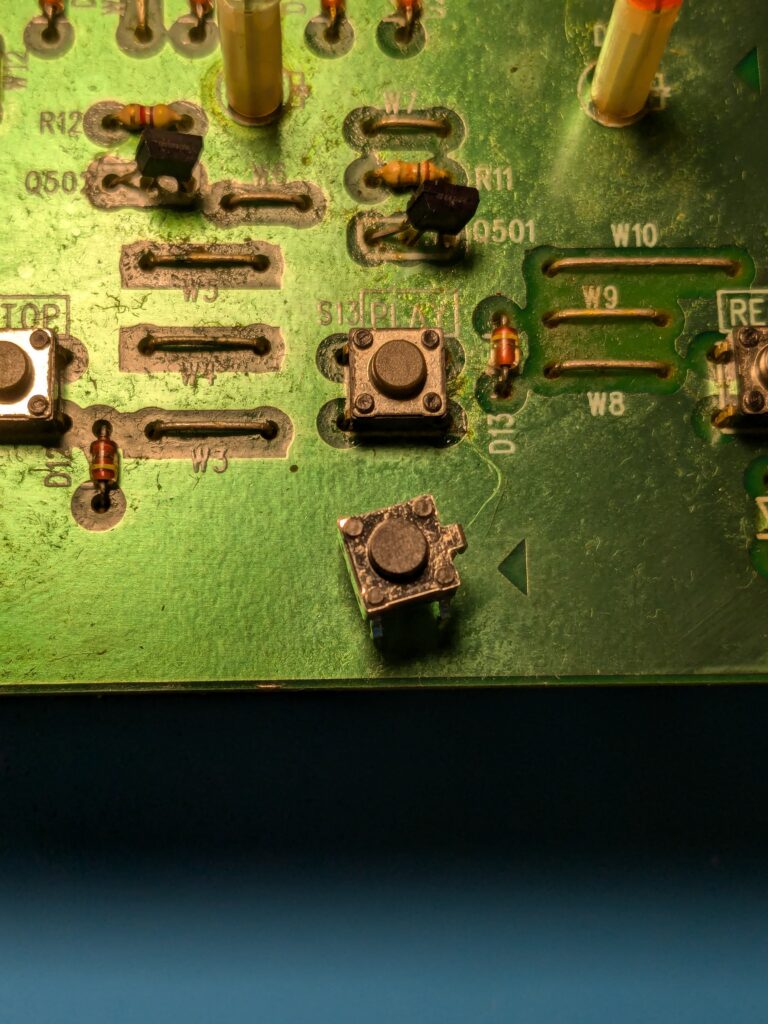
Aside from cleaning and calibration, this machine also needed a few minor repairs. The first repair was to remove the bottom PCB and resolder the DIN jack for the power supply. The second was to replace the tactile switch for the play button on the transport. I had noticed that it sometimes required two clicks to activate so that got swapped out as well.
I changed the belts on this machine too. The original capstan belt was in decent shape, and the machine had very low wow and flutter, but for peace of mind and longevity, I changed out the belt. Strangely enough, the new belt caused higher wow and flutter than the old belt, but still within the acceptable range noted in the service manual. The machine was also calibrated for tape speed in both high and low speed, the pitch control speeds were checked. Playback level and record level were adjusted back to the service manual specs, and the meters were calibrated.
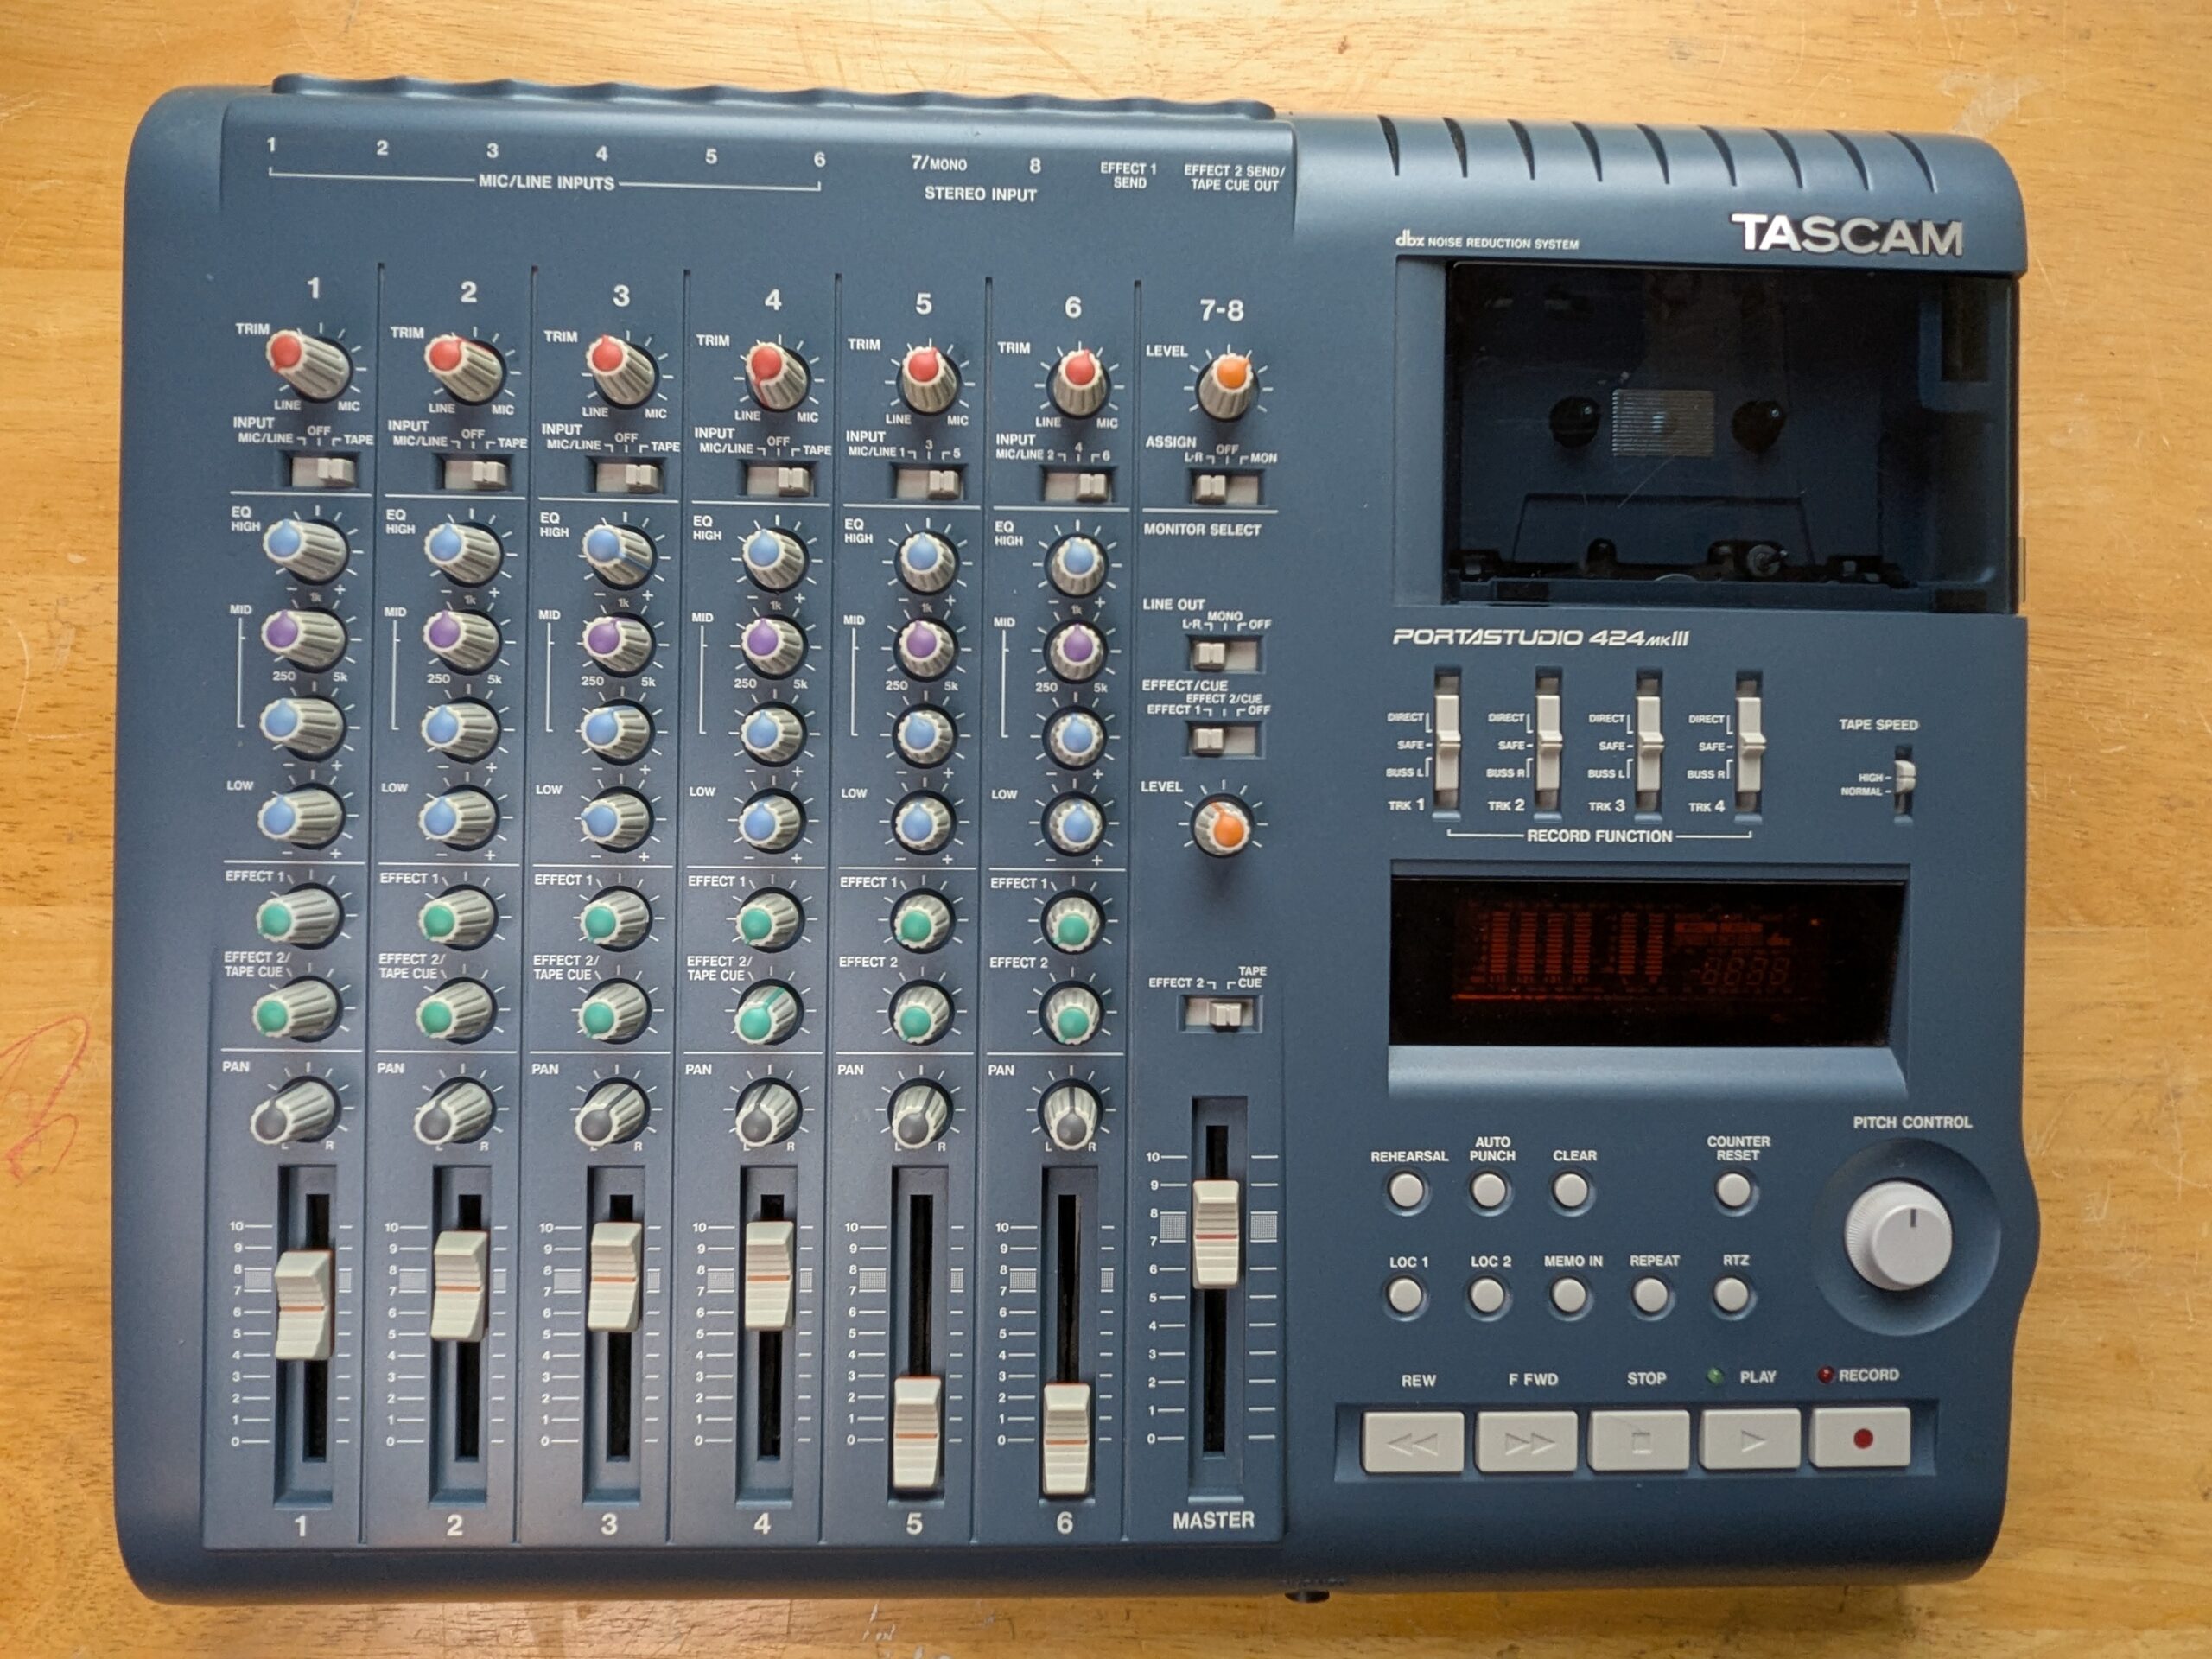
This machine came out really nice in the end. It’s clean and working as it would have when it was new.